Customizing Single Bonus Page
When you build a course with Xperiencify, we'll provide you some pre-built pages to host your training content.
We've based each page layout on 4 years of our own research into how to motivate students to take action, so there's strategy behind everything we've given you by default.
However, we understand that you might still want to customize the text and functionality of some of your pages, to better suit your specific purposes.
In this article we'll talk about customizing your Course's Single Bonus Page.
Customizing the Single Bonuses page
- From the Courses page, click on the Course you wish to customize.
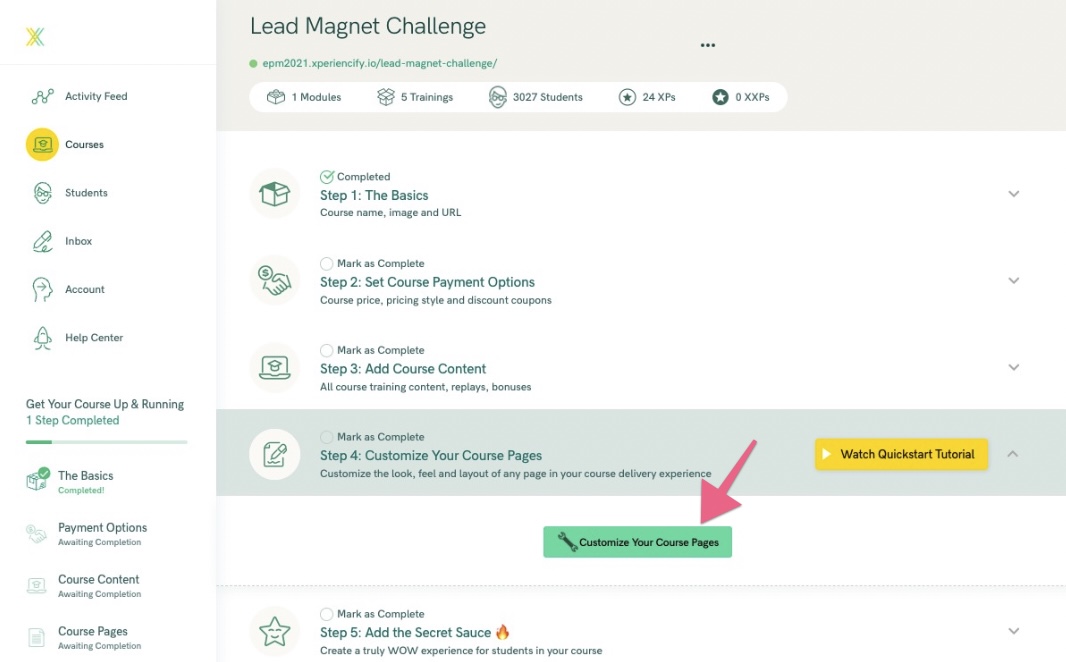
- Click on Step 4: Customize Your Course Pages. Click on the Customize Your Course Pages button inside.
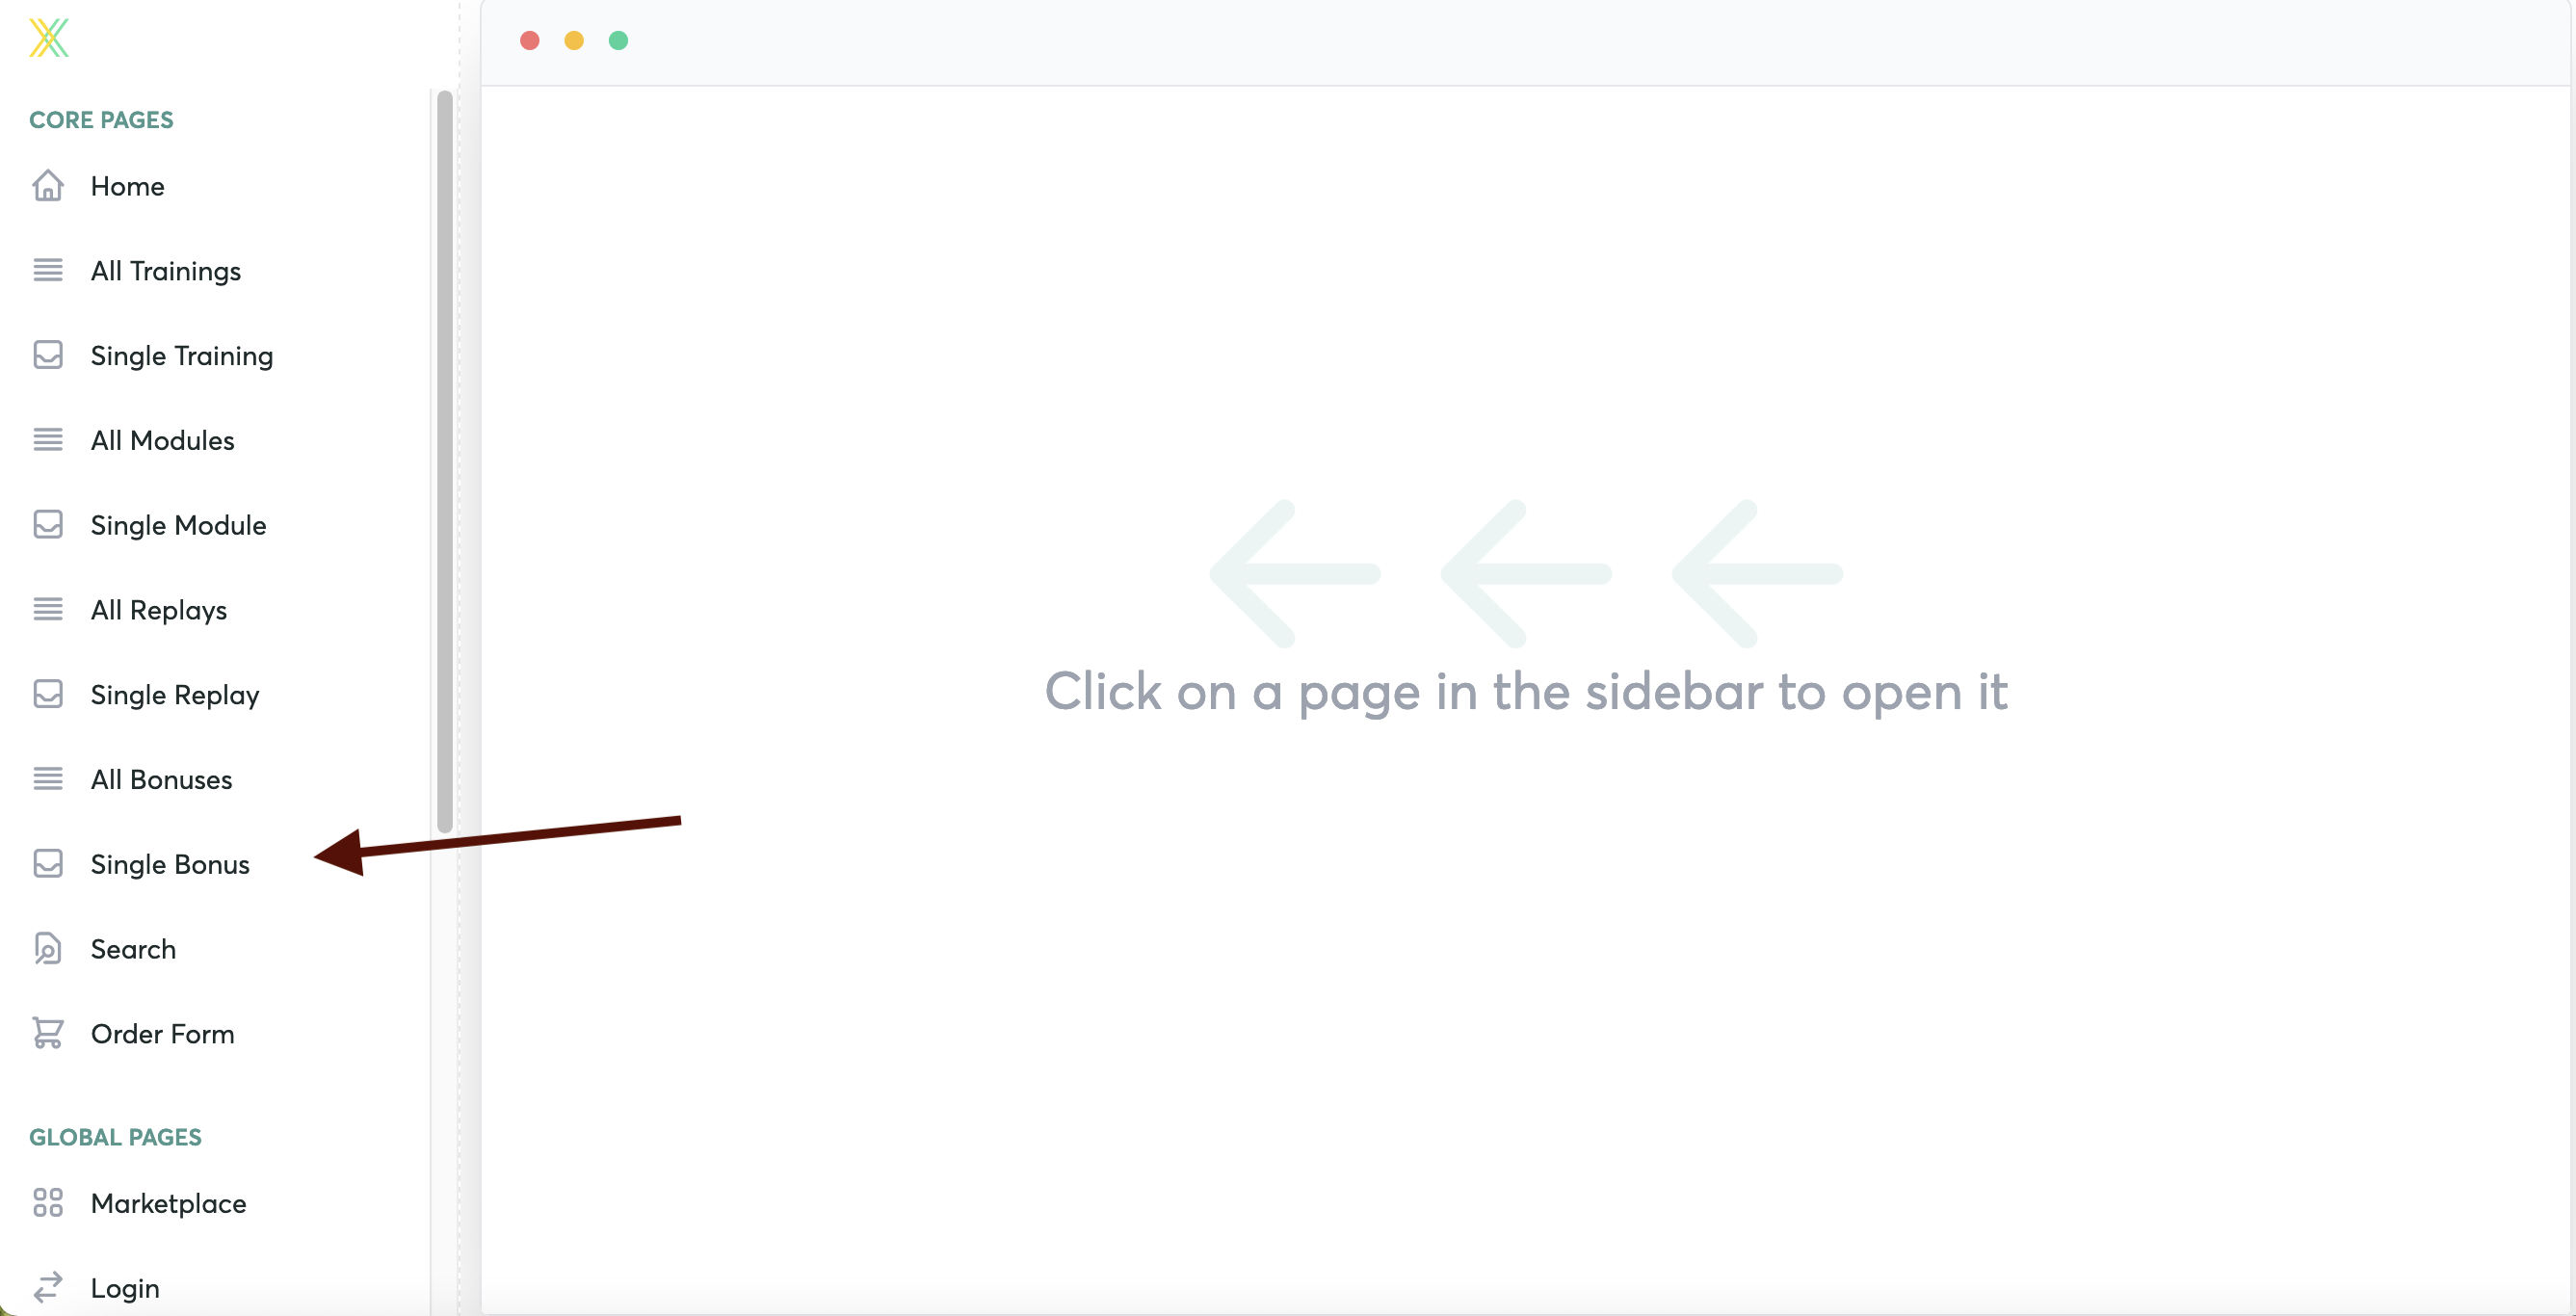
- Next, click on the Single Bonus page
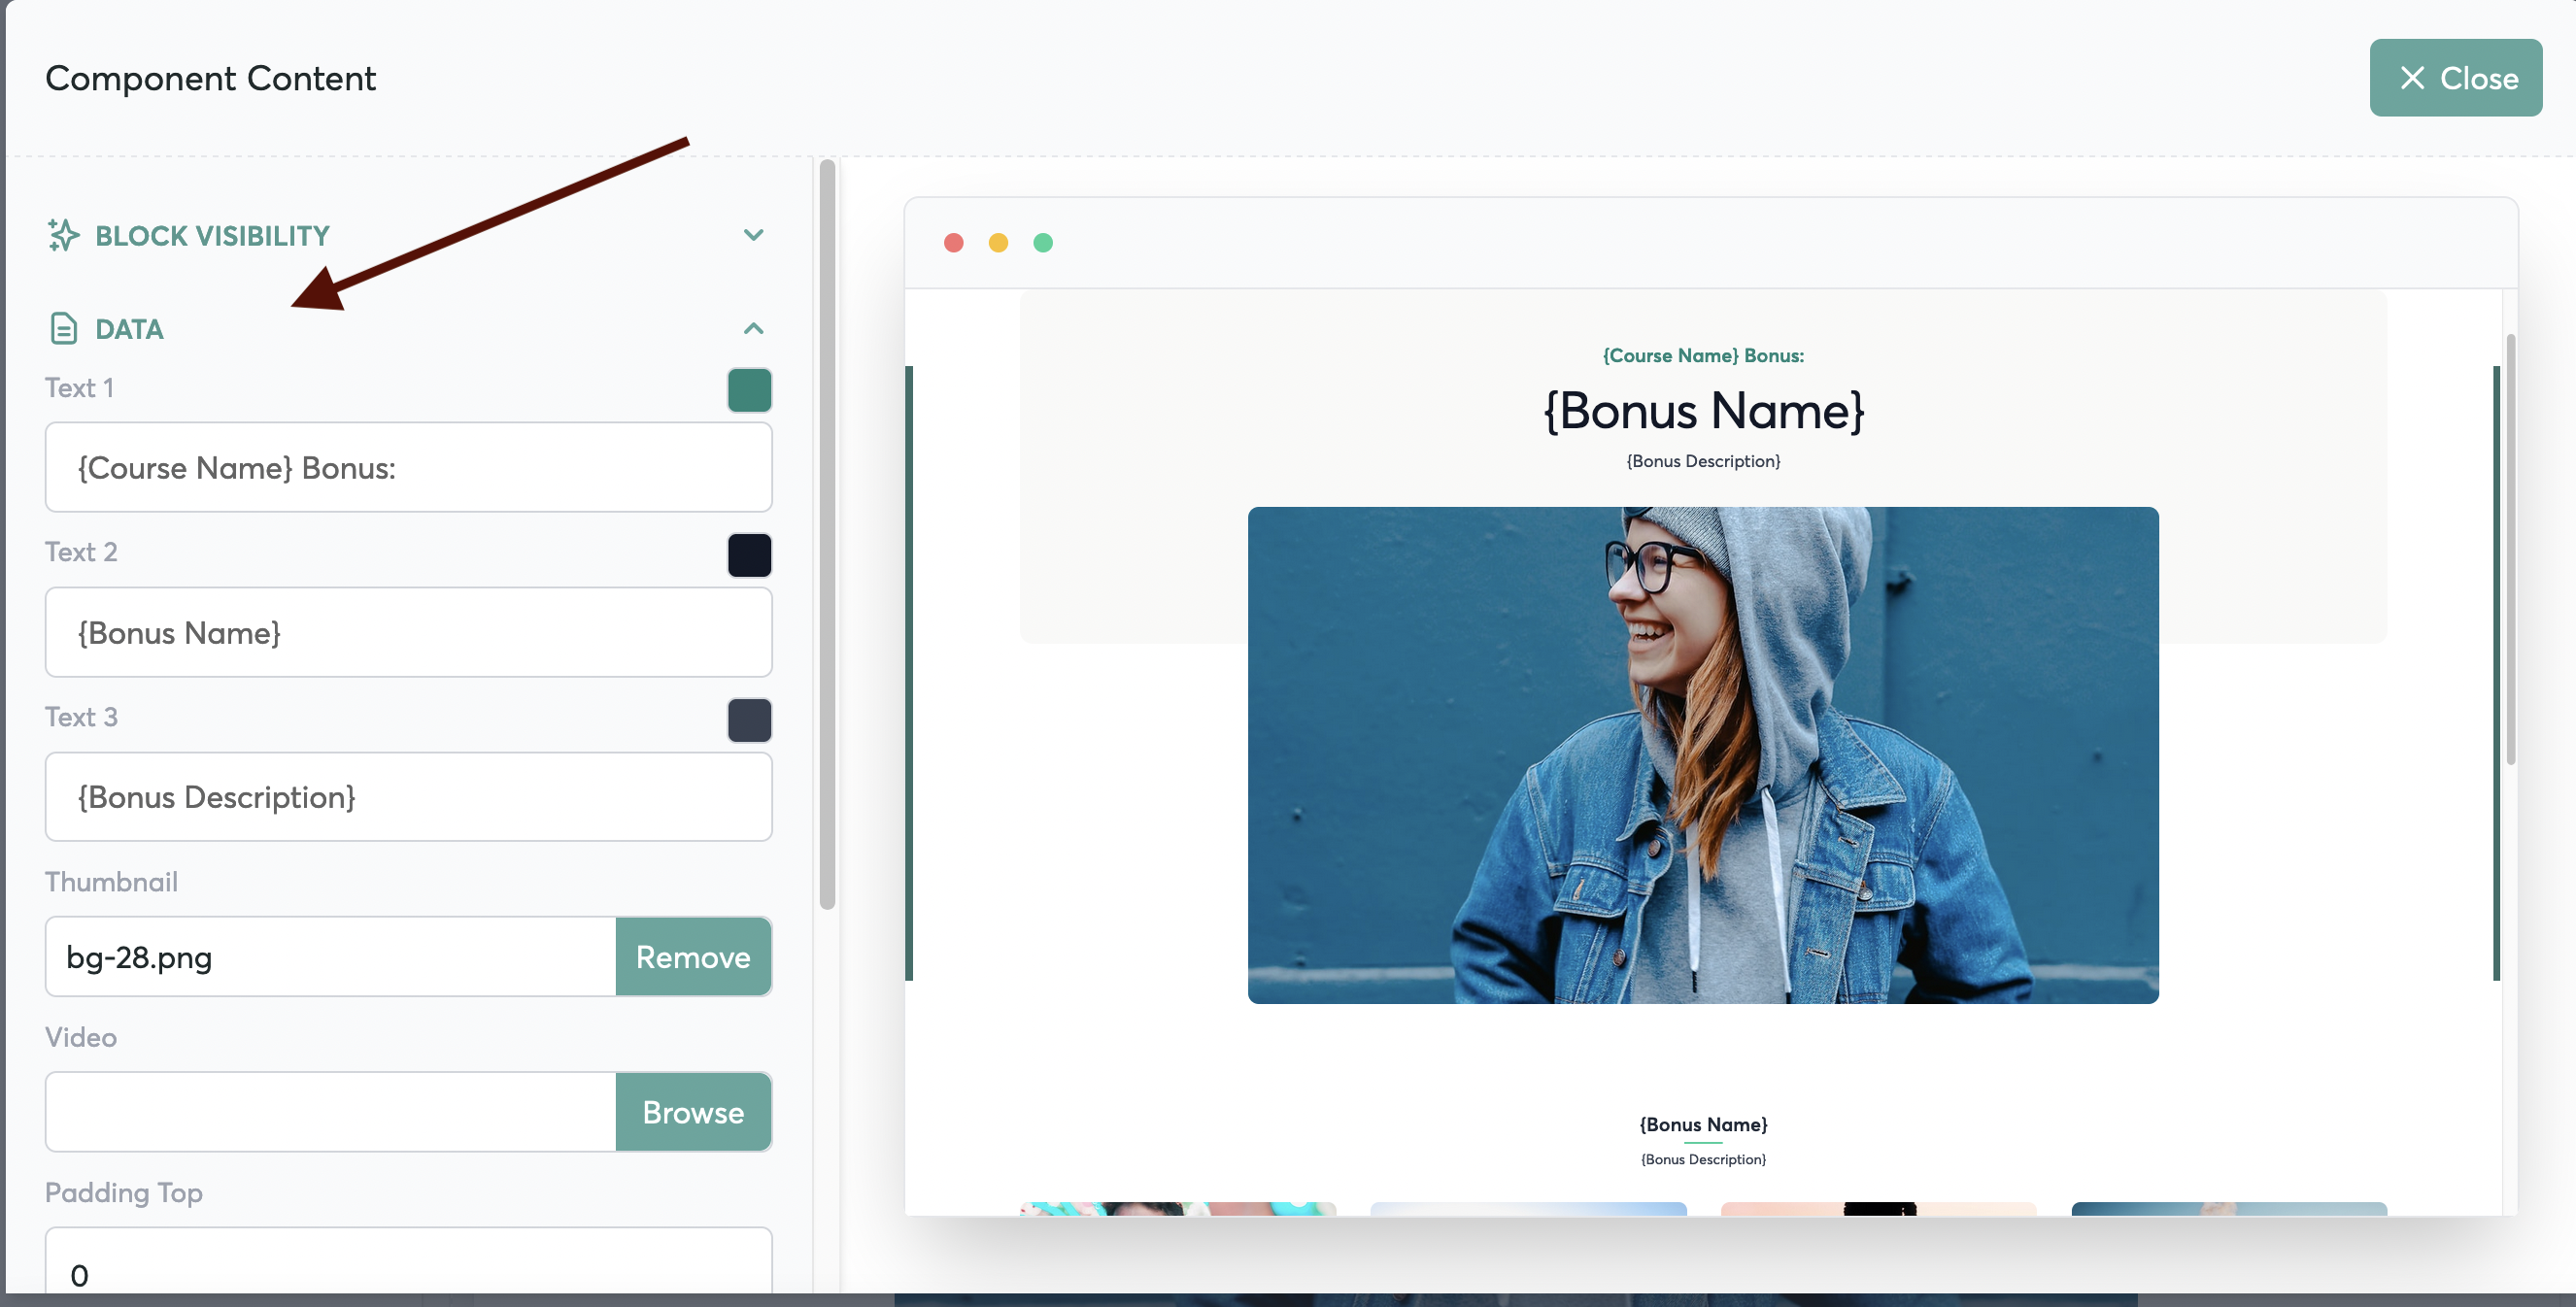
Don't worry about the placeholder content that you see... this will be replaced with your actual bonus content.

- Edit the text and colors Single Bonus page by hovering over the block and clicking "Edit"
 .
.
- In the "Data" menu, edit your text for the block
- See more details on how to edit content in your blocks right here
- When you add your bonus material in Step 3: Adding and Updating Course Content the bonus material will automatically populate here for the student
