Step 3: Adding & Updating Course Content
Quick access: Modules & Trainings, Replays, Bonuses.
Introduction
The Step 3 section is where you'll add all of the content required for your Course -- all your training content, bonuses, replays, etc...

This section is organized with a selection of tabs which related to the different content types you can add to your Course.
Modules & Training, Replays, Bonuses
This article will take you through each content type, what it's for, and how to add it using this section, and will also contain links to where you can get more detailed information about each specific content type.
Adding Modules & Training Content
In Xperiencify, along with most other online training and LMS systems, we allow you to organize your course into broad chapters via "modules". And inside each module, you'd add the training content that relates with its parent module.
Here's how to customize the Visibility of your Modules.
- Edit the course in question, scroll to the Add Course Content section and open it
- Click the Modules & Training tab
- Click the Add Your First Module button
- Type the Module name - something short & catchy. In the past, we've used names like "Show Me the Money" and "Your Lightbulb Moment". You want the name to be a little curiousity-invoking for your student. This will show at the top of the list of Trainings in that Module.
- Upload an image for your Module, or just use the image we included by default.
- Module Description - (Optional) Add a one-sentence description that tells your students what to expect in this Module.
- Customize your Module URL (this is the link that takes students direct to a specific Module)
- Assign points to the completion of a Module. We recommend anywhere from 5-10 XPs as an appropriate completion reward. (Curious about the difference between XPs and XXPs?)
Once you have at least 1 Module, you can begin to add Trainings.
- Edit the course in question, scroll to the Add Course Content section and open it
- Click the Modules & Training tab and open the Module you want to add a Training to
- Click the Add Training button to open the New Module dialog box
- Type the Training name - just a short & catchy name for your training. In the past, we've used names like "Show Me the Money" and "Your Lightbulb Moment". You want the name to be a little curiousity-invoking for your student.
- Upload a Training image -- we give you a random default image that you can choose to use or not. This image will be used as the thumbnail for your video
- Type a description -- just a single sentence to describe the Training
- Customize your Training URL (this is the link that takes students direct to a specific Training)
- Choose when the Training should be released -- immediately or some time in the future. For more info, check out the article on scheduling the release of content
- Upload your Training video -- we accept any video file format, or you can embed a video from many platforms: Youtube, Vimeo, Wistia, Searchie, Groove Video, Sprout Video, or GDrive hosted files. (Recommended privacy settings). More info here.
- Add student Resources to your Training if desired, using the Training Resources section. All standard file types are accepted: PDF, DOC, XLS, etc
- Add Actions to your Training. It's essential to add at least 1 Action to every training as this is how your students earn points as they make progress. We add two default, suggested actions to each training to help you. You can read more about how to use Actions here
Adding Replays
Replays are usually used to store any live Q&As, Coaching sessions or Open Office Hours style sessions that you provide as part of your course.
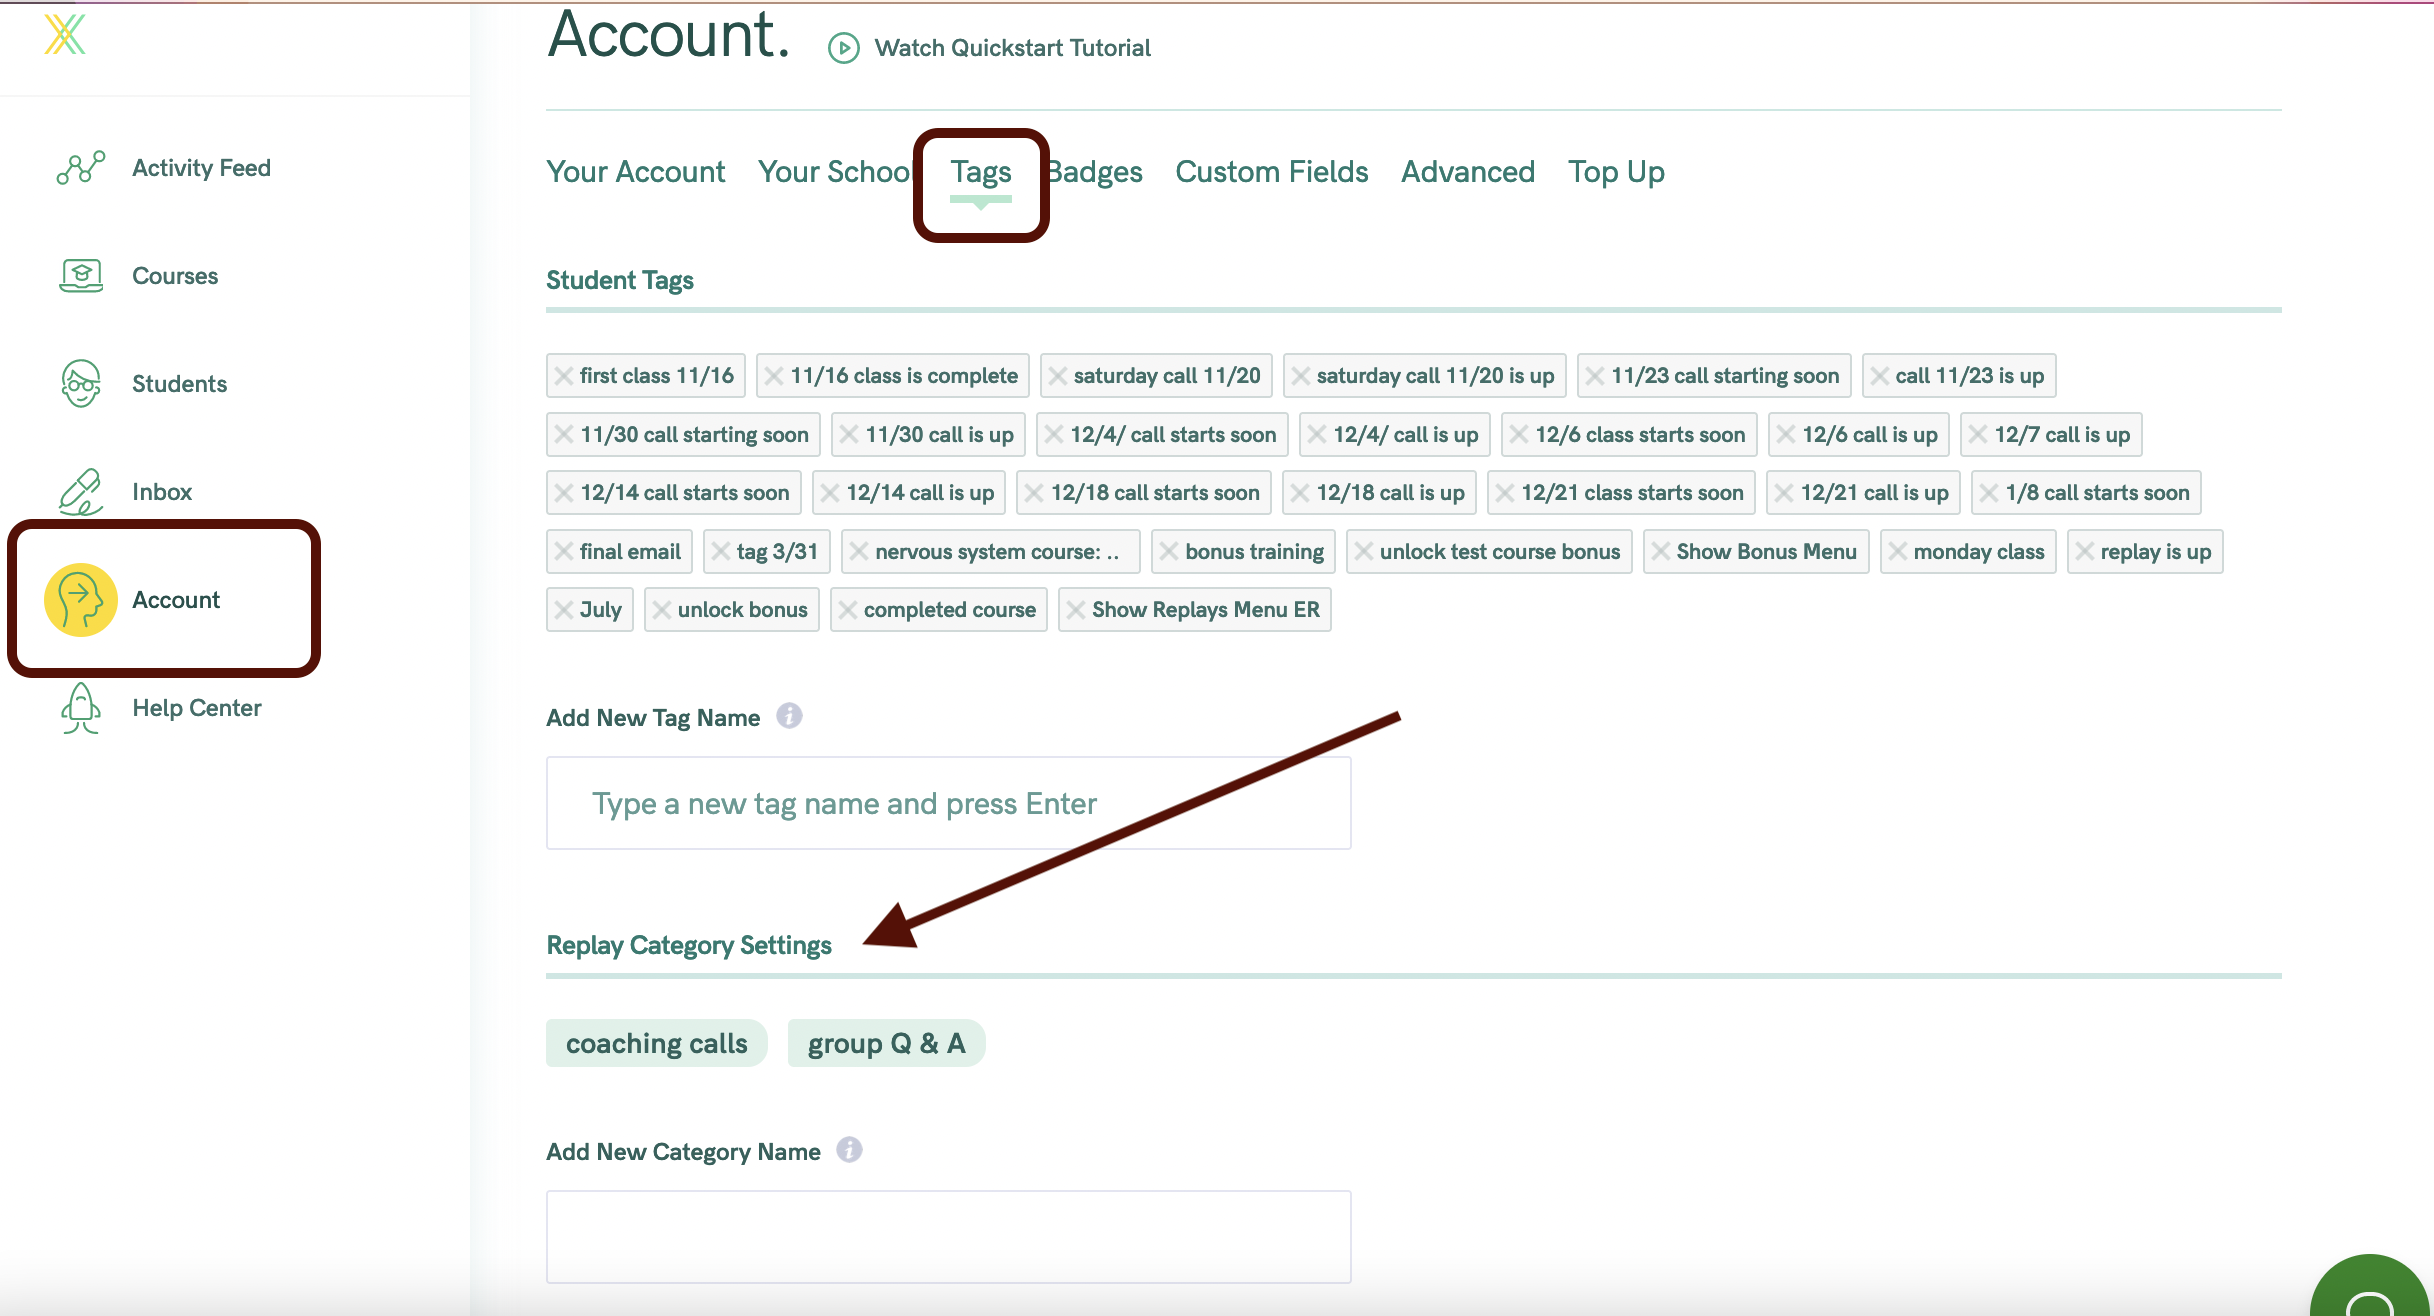
You can categorize your replays by adding Category names in your Tags section, and then assigning a category to a replay when you upload it.
- First, here's where you'll set up your Replay Categories
- Edit the course in question, scroll to the Add Course Content section and open it
- Click the Replays tab
- Click the Add New Replay button to open the New Replay dialog box
- Type the Replay name, upload an image, and enter a 1-sentence description to describe the Replay
- Customize your Replay Link (this is the link that takes students direct to a specific replay)
- Choose when the Replay should be released -- immediately or some time in the future. For more info, check out the article on scheduling the release of content
- Add a Category to your Replay, if you choose.
- Choose who your Replay will be available for - you can set it to be available for "Everyone" or "Only Existing Students- future students won't see"
- Add student Resources to your Replay if desired, using the Replay Resources section. All standard file types are accepted: PDF, DOC, XLS, etc
- Add Actions to your Replay. It's essential to add at least 1 Action to every training as this is how your students earn points as they make progress. We add two default, suggested actions to each training to help you. You can read more about how to use Actions here
Adding Bonuses
- Edit the course in question, scroll to the Add Course Content section and open it
- Click the Bonuses tab
- Click the Add Your First Bonus button
- Type the Bonus name, upload an image, and enter a description
- Customize your Bonus URL (this is the link that takes students direct to a specific Bonus)
- Choose when the Bonus should be released -- immediately or some time in the future. For more info, check out the article on scheduling the release of content
- Assign points to the completion of a Bonus (usually we recommend awarding 10XPs)
Once you've created your Bonus, you can begin to add Trainings to it.
- Edit the course in question, scroll to the Add Course Content section and open it
- Click the Bonuses tab and open the Bonus you want to add a Training to
- Click the Add Your First Training to this Bonus button to open the New Training dialog box
- Type the Training name, upload an image, and enter a 1-sentence description to describe the Training
- Customize your Training URL (this is the link that takes students direct to a specific training)
- Choose when the Training should be released -- immediately or some time in the future. For more info, check out the article on scheduling the release of content
- Add student Resources to your Bonus if desired, using the Training Resources section. All standard file types are accepted: PDF, DOC, XLS, etc
- Add Actions to your Training. It's essential to add at least 1 Action to every training as this is how your students earn points as they make progress. We add two default, suggested actions to each training to help you. You can read more about how to use Actions here