Customizing Welcome / Order Confirmation Email
When you make a sale through our order form or use the Zapier integration to insert a new student into your Program, we can send an order confirmation email out to the email address that was used for the registration.
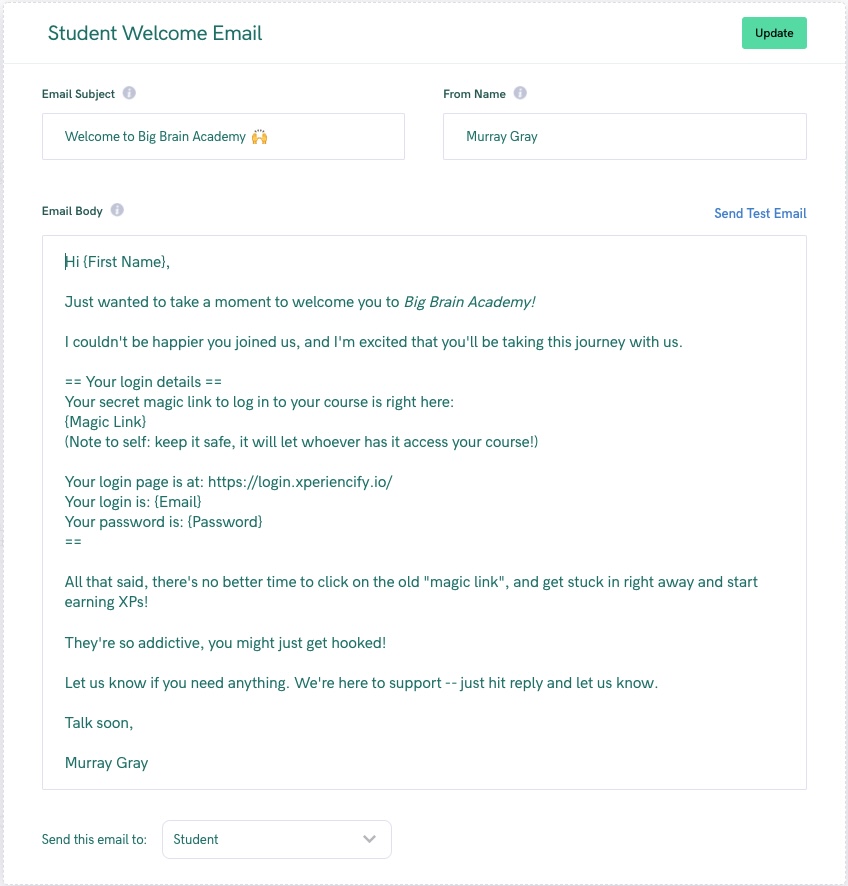
By default, the email looks a little like this:
Customizing the Order Confirmation Email
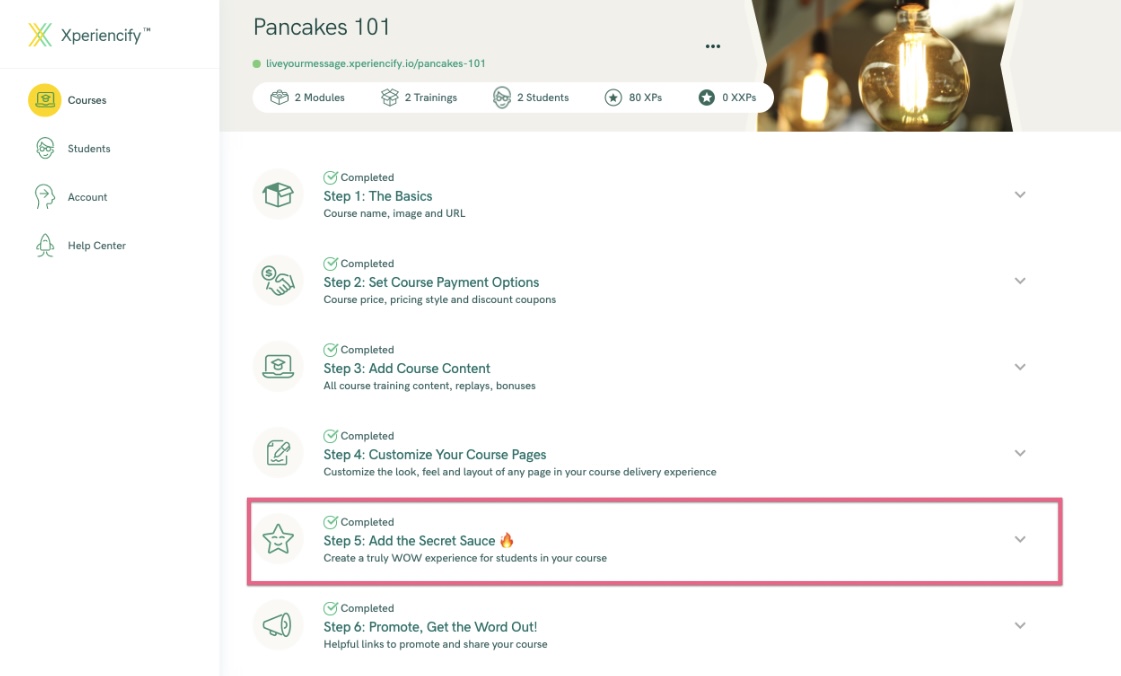
- From the Courses page, click on the Course you wish to customize
- Scroll down to the Step 5 "Secret Sauce" section, and click to open it
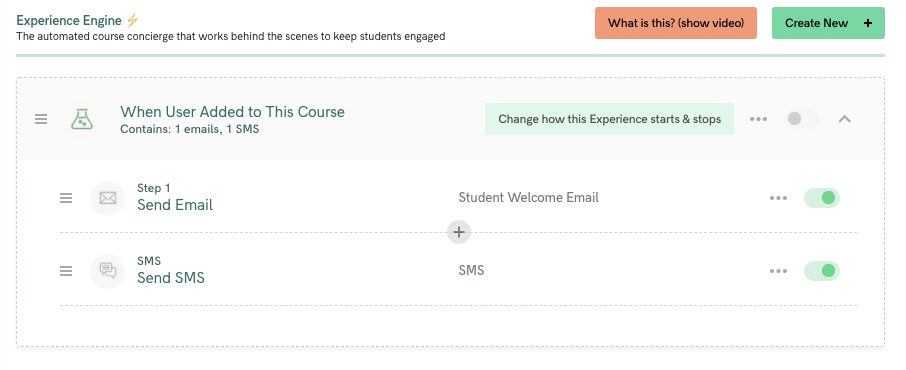
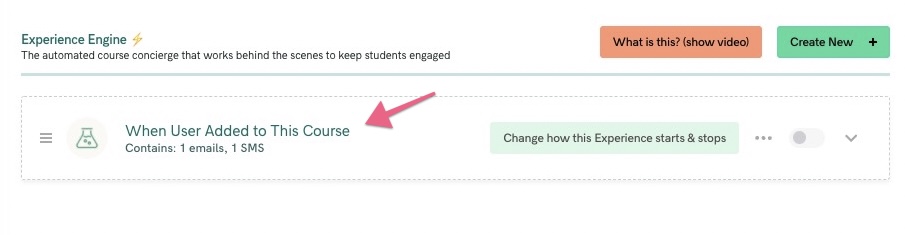
- You should already have an item called When User Added to this Course. Click to open it. You should see something a little like this:
- Click on the email and edit it in the popup window
- Customize your email subject line and email body as you wish, making sure to preserve the variable names we're using to customize the email for each student.
Here's a list of the variables we use. You need to make sure that they are kept exactly as is -- along with the curly braces on each site of the word:
- {First Name} (this auto-fills with your student's first name)
- {Last Name} (this auto-fills with your student's last name)
- {Course Name} (this auto-fills with your course's name)
- {Email} (this auto-fills with the student's email address)
- {Password} (this auto-fills with the student's password)
- {Magic Link} (this auto-fills with the course magic login link that will log someone in without needing a password)
How to Create a New Student Welcome Email
- From the Courses page, click on the Course you wish to customize
- Scroll down to the Step 5: Secret Sauce section, and click to open it, and then scroll down until you can see the "Experience Engine" section
- If you don't already have an item called When User Added to this Course then click the Create New + button at the top right of the Experience Engine section, or the "Add an Experience" button, depending on which one is visible to you
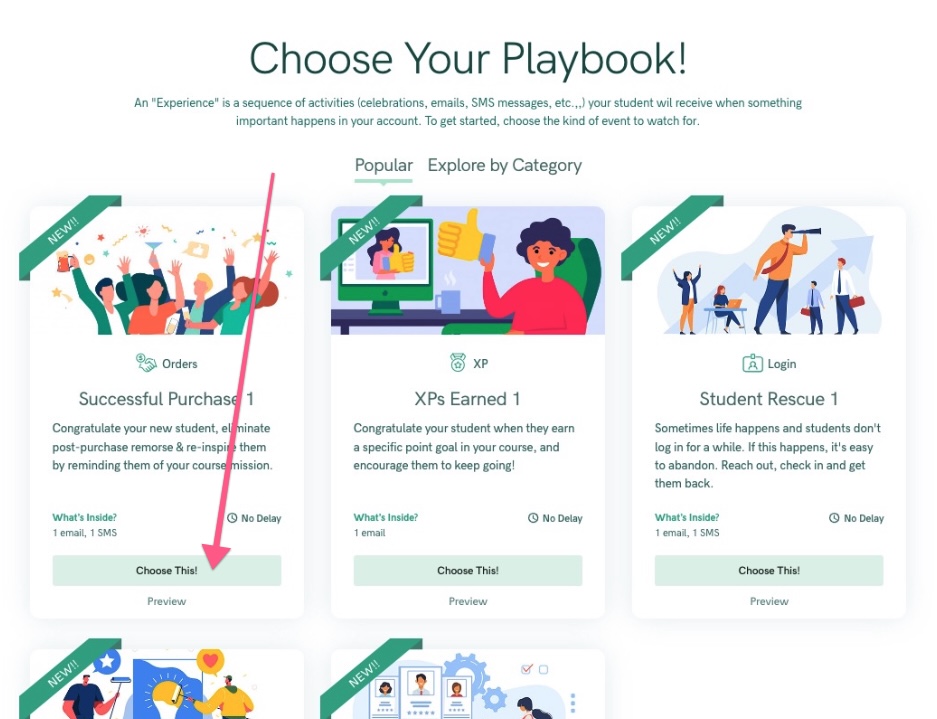
- Choose "Create from Playbook"
- When the Playbook opens, find "Successful Purchase 1" and click the "Choose This!" button
- You should see your new Automation has been created:
- Click it to open it, and then click on the "Student Welcome Email" inside. This will pop up the email content in a window for you to edit.
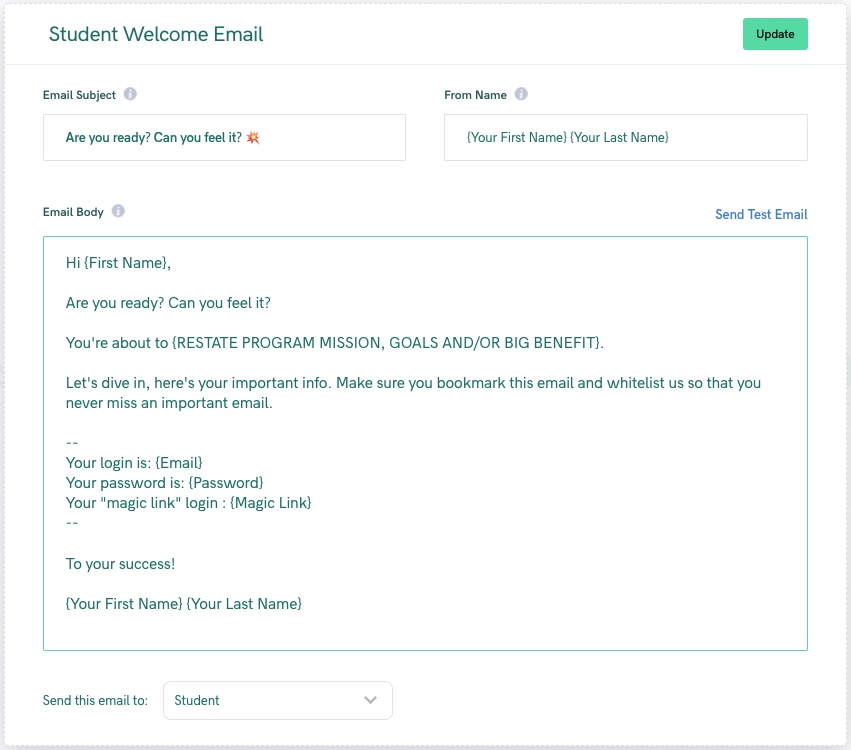
- When you're finished editing, click the "Update" button in the top right
- Finally, to turn your email on, make sure these two toggles are set to the "on" position

Customizing the Return Email Address
By default, replies to your emails will go to the email address you specify in the "Customer Service Email Address" field in the "Your School" tab in your Account page. Set this email to be whatever you prefer to use for that purpose.
